Deployment Guide
Overview
Profile Historian works in conjunction with Dataristix’s OPC UA Connector and ODBC Connector. The OPC UA connector communicates with the gauging system’s OPC UA server to retrieve profile and roll report data and transfers the data to the database of your choice using the ODBC connector. The components of this solution (Profile Historian, Dataristix and database) need to be configured to co-operate with each other.
Typically, Profile Historian is installed separately from Dataristix, OPC UA server and database. Profile Historian only requires access to the database and may therefore be deployed on any computer on the network that can access the database.
The following assumes that you have installed Profile Historian and Dataristix on suitable computers with access to your database server.
Deployment steps then include:
- Create the Profiles database
- Initialize the Profiles database with a provided script
- Configure ODBC datasources
- Import a provided Profile Historian configuration
- Import a provided Dataristix project
- Start Dataristix data collection tasks
If you have not received database initialization scripts or configuration files from your gauging system vendor then please contact support@rensen.io.
1. Create Profiles Database
Ask your database administrator to create a database for you. To simplify deployment, your database administrator may want to provide logon credentials with database “owner” rights or rights that will allow you to create and list database tables. You can later fine-tune access rights, and, for example, revoke these rights once the solution is deployed.
2. Initialize Profiles Database
If you have been provided with a database initialization script then ask your database administrator to run those scripts for the created Profiles database.
3. Configure ODBC Data Sources
On the computer where Profile Historian runs, use Windows’ ODBC Data Source Administrator to configure an ODBC data source pointing to your database. Press the Windows Start button and type “Data Sources (ODBC)” to find the ODBC Data Source administrator. Note that Profile Historian is a 64-bit application and requires a 64-bit data source (do not select the 32-bit version of the ODBC data source administrator).
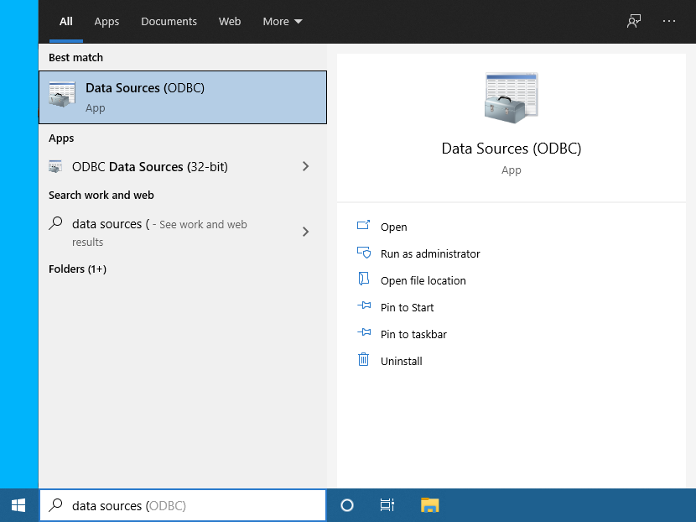
Click on “Data Sources (ODBC)” (or “ODBC Data Sources (64-bit)”, depending on operating system version) to open the ODBC data source administrator dialog. The data source may be configured as a User DSN or as a System DSN. If Dataristix is installed on the same computer, or if you would like to use the same DSN for different users, then you should configure the data source as a System DSN.
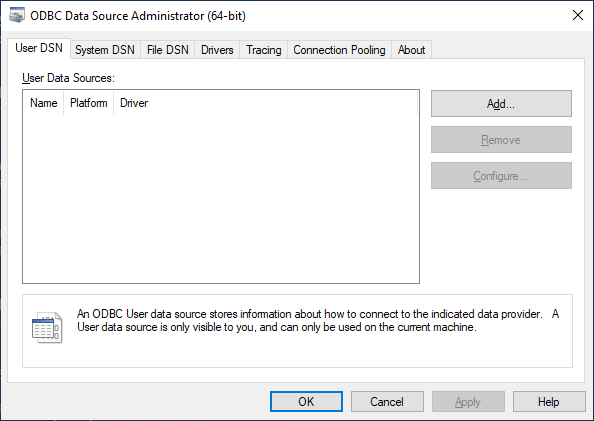
Select tab “User DSN” or “System DSN” in the ODBC Data Source Administrator, then click the “Add” button and follow the steps to point to the Profiles database. Your database administrator will be able to assist or may provide you with the server location, database name and logon credentials.
The suggested name for the new DSN is “ProfilesDSN” as it is likely that this name is used in provided configuration files. You can also choose a different name and adjust the Profile Historian configuration later.
If Dataristix is installed on a different computer then create a system DSN on the computer where Dataristix is installed pointing to the same database.
4. Import Profile Historian Configuration
You may have been provided you with a Profile Historian configuration file to simplify deployment. Open Profile Historian, cancel any initial configuration dialog that may be shown, then select menu “File / Import Configuration” to open the provided file.
Select “File / Configure” from the menu to review the configuration. You should see that the configuration is initialized with the expected database DSN “ProfilesDSN”, the number of expected profiles, and roll report data definitions.
At this point Profile Historian should run without errors but will not display any data since Dataristix has not collected any data yet.
5. Import Dataristix Project
You may have been provided with an Dataristix Project that configures the required tasks to transfer data from the vendor’s OPC UA server to the database. To import the project, open Dataristix and select “Import Project” from the menu.
Note
This step assumes that you have not configured Dataristix for other tasks. Importing a project will overwrite the extisting project. If you wish to add profile data collection tasks to an existing Dataristix project then please contact support.
Ensure that the ODBC datasource for Dataristix is created as described in step 3.
After importing the project into Dataristix, the configuration may need to be adjusted as follows.
- The OPC UA server that is referenced in the project likely points to “localhost”. If the gauging system vendor’s OPC UA server is installed on a different system, then the location needs to be updated.
- The OPC UA server needs to be trusted.
- OPC UA server and / or database credentials may need to be entered (if required).
To resolve points one and two of the above, use Dataristix’s “Reassign” functionality. In the reassign dialog you can do both, point to a new location and trust the OPC UA server. Please see the OPC UA Connector documentation for further details.
To address point 3, open Dataristix and enter any required credentials in the OPC UA Connector’s OPC UA server settings or the ODBC connector’s “Profiles” database settings.
6. Start Data Collection Tasks
The imported project may contain one or more data collection tasks to transfer profile data and roll report data from the OPC UA server into the Profiles database. Start these tasks to begin data collection. Profile and report data should now start to become visible in Profile Historian.
If any errors are reported then please review the error messages shown in Dataristix or contact support@rensen.io or your gauging system vendor for assistance.