Connecting to Azure IoT Hub
Configure an Azure IoT Device
This section assumes that you have a Microsoft Azure account and have created an “IoT Hub” resource. Before the MQTT connector can send data to the IoT Hub, a “Device” needs to be configured as a recipient of such data. In this example, a single “Device” with self-signed X509 certificate authentication is created:
- Go to your IoT Hub in the Azure portal; note down the “Hostname” for your IoT Hub.
- On the left, under “Device management”, select “Devices”.
- Click on “Add Device”.
- Enter a name for the device as the device ID, for example “mqttconnector1”.
- As the “Authentication type”, select “X509 Self Signed” or, preferably, “X509 CA Signed”. For CA (Certificate Authority) signed certificates ensure that you have a CA certificate configured in IoT Hub.
- Create an MQTT Client in Dataristix, go to the client’s “Configuration” node, select the “Client Certificate” tab, and click on the “Copy thumbprint” toolbar button.
- Back in Azure, paste the thumbprint as the primary and secondary thumbprint in the “Create a device” form.
- Leave “Connect this device to an IoT hub” enabled and click “Save” to create the device.
Configure the MQTT client
You can configure the MQTT client manually to connect to the Azure IoT Hub or with “IoT Assistance”. The following steps describe the steps taken when choosing “IoT Assistance”.
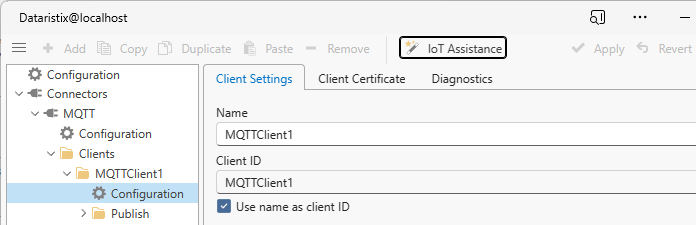
Select the “Configuration” node of the MQTT client to configure in the navigation tree, then click the “IoT Assistance” button in the toolbar.
Select the “Azure” option int the dialog that opens.
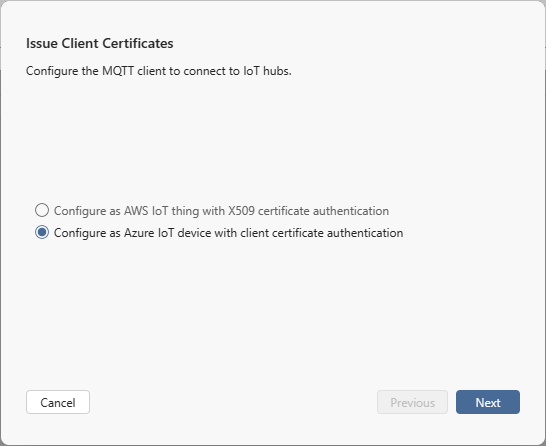
Click “Next” and fill out the details in the following form.
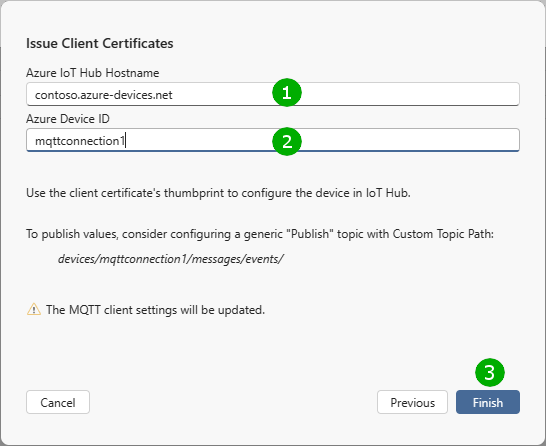
Enter the IoT connection details:
( 1 ) The hostname of your IoT hub.
( 2 ) The device ID configured in IoT hub.
Finally, click “Finish” ( 3 ) to configure the MQTT client.
You can now review the settings and test the connection.
Note
If the Azure IoT server certificate is not trusted then add the certificate’s Certficiate Authority (if it has one) to the configured certificate authorities for the MQTT connector. If the certificate does not have a certificate authority or to test the connection, you can also check “Accept any server certificate” in the MQTT client configuration.
Limitations
MQTT support of Azure IoT hub devices is limited and generally MQTT topics cannot be freely chosen. If you plan to publish values to IoT hub then MQTT topics should take on the form
devices/{device id}/messages/events/{tag}
The MQTT connector supports “Custom Topic Paths” in the MQTT client’s topic settings for this purpose. For example, in a generic “Publish” topic the custom topic path could be configured as
devices/mqttconnector1/messages/events/
to send tag values to the IoT hub. A tag called “temperature” that is connected to the MQTT “Publish” topic in Tasks would then have the tag value published as
devices/mqttconnector1/messages/events/temperature