REST Clients
Add Client
The REST Connector is configured by adding one or more REST Clients. Each client can have different settings and can communicate with the same or a different REST service.
To add a REST client, click the “Add” button with the REST connector’s “Clients” node selected in the main application’s nagivation pane.
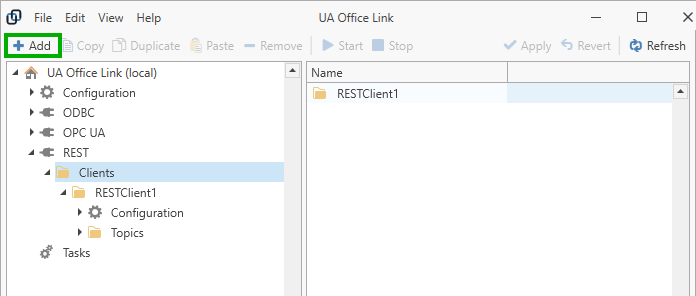
Rename the new client to suit.
Configuration
Select the REST client’s “Configuration” node in the navigation pane to configure the client.
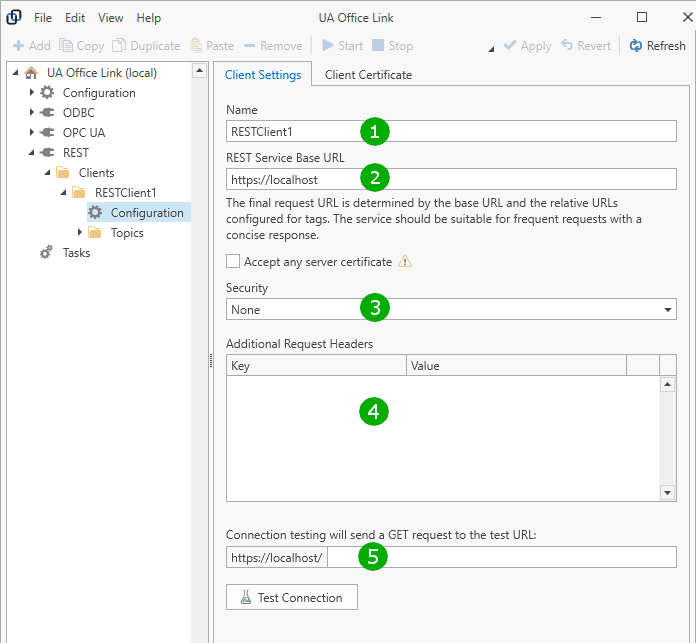
( 1 ) Change the name of the REST client to suit.
( 2 ) Set the “Base” URL for REST service communications. When topics and tags are added to this client, then each tag may have a relative URL that, together with the Base URL, forms the absolute URL used to communicate with the REST service. Please see the tag configuration sections for additional information.
To communicate securely, “https” should be used; in this case you may want to check “Accept any server certificate” for testing; this will by-pass certificate trust checks. By-passing trust checks is not recommended for production use.
( 3 ) Depending on the REST service, different security settings may be required. The supported options are:
- None
No authentication information is sent to the service.
- Basic
Username and password authentication is used. Username and password are stored securely in encrypted form for use in future requests.
- Basic token exchange
Username and password are posted to the authorization endpoint in the request body. The expected response is a token that is sent in subsequent requests.
- API Key
An API key (sequence of characters) is sent to the service in the request header. By default, the API key is sent in the “X-API-KEY” header, however, you can adjust the header name to adapt to requirements of the REST service.
The default value passed in the header is just the API key. You can add additional text around the API key by editing the header value template. Use “@ApiKey” as the placeholder for the API key; the REST connector will substitute the placeholder with the API key before requests are sent.
The API key is stored in encrypted form for use in future requests.
- Client Certificate
With this setting, a client certificate is sent with each (https) request. The REST Connector automatically generates a certificate for each REST client. You can inspect the certificate by clicking on the “Client Certificate” tab at the top of the configuration panel. Here you can also re-create the certificate, import your own certificate or export the certificate.
- OAuth 2.0 (Client Credentials Flow)
If the REST service uses OAuth 2.0 authorization then select the OAuth 2.0 (Client Credentials Flow) option and enter the authorization URL, client ID and client secret. OAuth client secrets will be stored in encrypted form for future use.
Test the connection by pressing the “Test Connection” button. This will send a “GET” request to the REST service. You may optionally enter a relative URL if the Base URL is not suitable for connection testing.
Click the “Apply” toolbar button to confirm your changes.
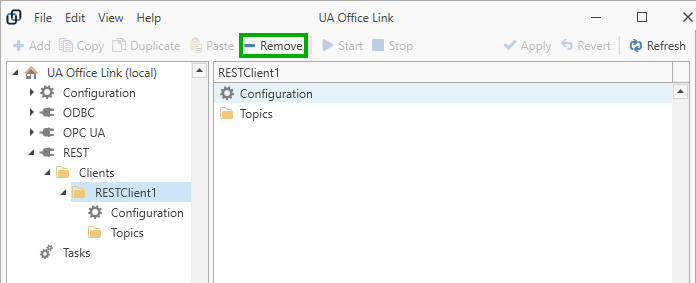
Remove REST Client
Remove clients by selecting the client in the navigation pane, then click on the “Remove” toolbar button.
Warning
Note that all contained topics are also removed from any task using the topics.